Ceiling Leak Water Damage in Winchester
A soft ceiling changes how the room should be used. Keep the area below clear, identify what is feeding the cavity and assess wet materials before choosing a finish repair.
(888) 629-3140Discuss a softened ceiling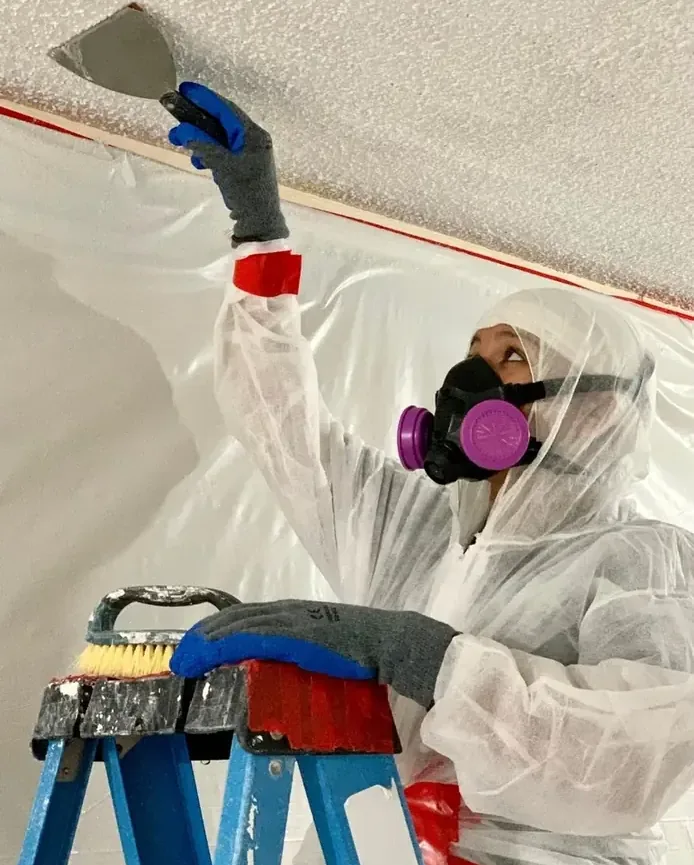
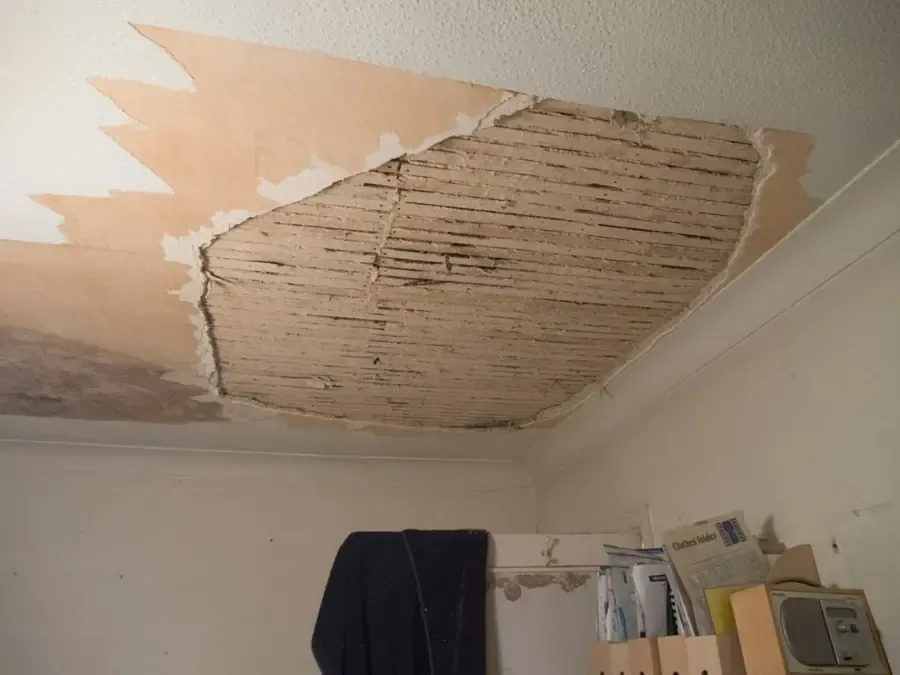
A ceiling can be wet on its concealed side before the room shows a stain. By the time paint blisters or a joint opens, water may have reached insulation, framing and a nearby wall cavity. The immediate concern is the condition overhead and safe use of the space underneath. Avoid pressing, drilling or pulling at softened material. Inspection should determine how the water arrived and how the assembly can be opened safely if access is needed.
How ceiling leak water damage is handled
Assess the overhead condition
Examine visible deformation, electrical concerns and the reported water source before working beneath the ceiling. Identify the area needing clearance and the likely connection between the cavity and adjoining wall or floor surfaces.
Open affected layers carefully
Establish protection below the work and remove material where necessary for inspection or drying. Photograph the cavity as it becomes visible, including wet insulation and the route water followed through the assembly.
Monitor cavity drying
Track retained framing and surrounding materials at consistent locations. Adjust access or equipment when concealed areas remain damp, and coordinate any new source finding with the repair professional before further finish work proceeds.
Define closure requirements
Review the remaining opening, source status and moisture assessment with the owner. Identify insulation and finish replacement needs separately so reconstruction follows the completed water-damage work and preserves a clear record of the affected assembly.
Use the pattern to direct the inspection
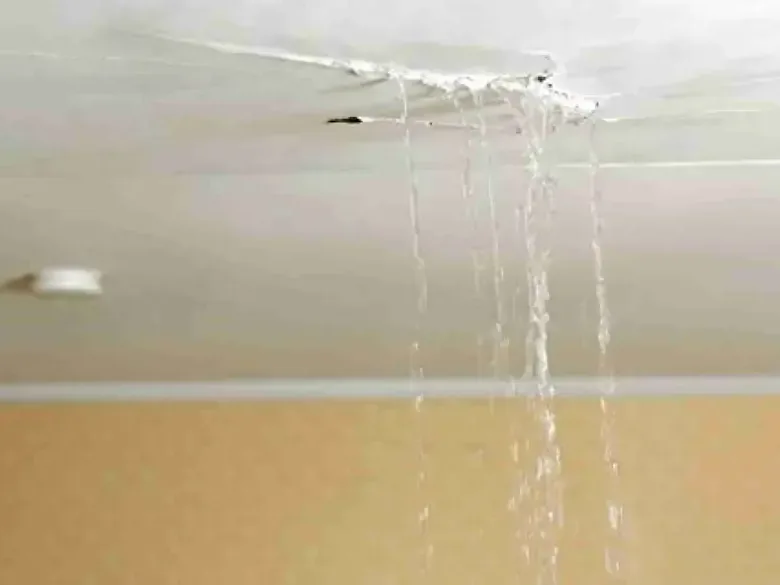
At a Winchester property around Skillings Field, Cross Street or Winchester Center, describe the specific ceiling section and what lies above it. A bathroom, roof space or supply pipe presents different source possibilities, but the actual repair findings must establish the cause. Note whether dripping coincides with fixture use, weather or a continuous release. That sequence can help focus the investigation before finishes are disturbed.
- Photograph the outline of staining, separated seams and any visible sagging from clear floor space.
- Record wet light fittings or other electrical exposure without operating affected switches or fixtures.
- Check the room below for water on flooring, furnishings and upper cabinet surfaces.
- Identify adjoining ceiling sections that share the same cavity or wet framing route.
- Keep the source repair findings with the overhead material assessment as the scope develops.
Opening only the darkest stain may miss wet insulation farther along the cavity. Conversely, a large cosmetic mark does not automatically require removal of every surrounding finish. The access plan should explain what needs inspection, what is damaged and how retained surfaces will be reached for drying.
Water still spreading?
A changing ceiling deserves an assessment of what is above and below the stain. Describe the soft area, dripping pattern and suspected source before arranging controlled inspection of the overhead assembly.
(888) 629-3140Discuss overhead water damageControl the opening and the work beneath it
A ceiling opening can release trapped water, loose finish material or saturated insulation. Room protection and a controlled work boundary belong in the plan before removal begins. Heavy furnishings beneath the area may need relocation or protection, and the route for debris should avoid occupied spaces wherever practical. The work should leave accessible edges for both drying and later reconstruction.
The source may require a plumbing repair or qualified roof work. If the investigation identifies an exterior entry, the roof leak page explains how attic and ceiling damage connect. If a broken pipe fed the cavity, burst pipe restoration follows the additional walls and floors that may have received water during the release.
Keep the work area safe
The response team checks electricity, unstable surfaces and water contamination before opening wet materials. Household members keep children and pets away from affected rooms. A qualified electrician handles wet circuits. The cleanup crew sets containment when dirty water or debris could reach occupied space, then establishes a safe route for equipment and removed material.
Judge the cavity before closing the surface
Drying progress needs to be assessed in retained materials above the room, not solely on the painted face. Framing and insulation can respond differently, and restricted airflow can leave a damp pocket behind an otherwise dry edge. Mark monitoring locations and explain any change in equipment or access when readings do not decline as expected.
The town's groundwater flooding mechanism concerns lower-level entry through floors and foundations. Keep any concurrent basement seepage separate from this overhead investigation. At completion, document source control, removed materials and the condition of retained ceiling layers. The reconstruction handoff should identify the opening boundaries and remaining finish tasks so a new ceiling surface is installed over an assembly that has been properly assessed.
First decisions for ceiling leak water damage
Vacate the affected footprint
Keep seating, beds and routine movement away from the space below swollen or cracked material. Do not press the ceiling to test it, and leave wet electrical fixtures undisturbed while safety is assessed.
Observe the leak timing
Note whether dripping changes with fixture use or rainfall, without deliberately recreating an overflow. Record the first stain location and any later spread so the investigation can compare the visible pattern with the source.
Arrange source attention
Have the suspected plumbing or roof problem evaluated by the appropriate repair professional. Share the findings with the interior restoration provider before an opening is patched or replacement material is installed overhead.
Prepare a clear work route
Remove small dry items from safe nearby areas and describe furniture that remains under the damage. A clear route helps organize controlled access, debris handling and protection of the rest of the room.
What does ceiling leak water damage cost in Winchester, MA?
Ceiling leak cleanup in Winchester depends on overhead access, affected insulation and the spread into connected sections. The planning amounts below describe interior restoration; source repair and decorative finish replacement should be identified in the estimate.
Small overhead leak
$900 to $1,800
- Ceiling opening
- Limited wet material
- Accessible drying area
Wet cavity and insulation
$1,800 to $3,000
- Insulation condition assessment
- Retained framing checks
- Protected debris removal
Connected ceiling areas
$3,000 to $4,500+
- Extended overhead footprint
- Multiple cavity sections
- Broader reconstruction handoff
Category of water, square footage, material class and drying delay shape the scope. water damage cost calculator gives an estimate only.
Ceiling leak water damage across Winchester
Properties near the Mount Vernon Street bridge, Manchester Road and other town locations can describe ceiling access when requesting help. Include the room below the damage and any source investigation already underway.
The same service nearby: ceiling leak water damage in Belmont, Arlington, Somerville.
Related water damage services in Winchester
Ceiling Leak Water Damage questions in Winchester, MA
Is a small stain always a small repair?
The visible mark can be smaller than the wet area above the finish. Water may travel along framing or collect in insulation before showing below. Inspection of the source and accessible cavity helps determine whether the work is limited to one section or extends into connected material layers.
Should furniture remain beneath a sagging section?
Keep people away from the area first. Moving heavy furniture beneath weakened material can expose occupants to falling debris or water. The restoration plan should assess overhead stability and decide how contents can be protected or relocated before controlled opening and removal begins above the room.
Can ceiling damage come from a fixture upstairs?
A fixture, supply connection or drain above the ceiling can be a possible source. The cause should be established through inspection and repair findings rather than inferred from location alone. Describe any observed connection with fixture use and preserve that information with the interior damage record.
Why remove insulation if only the ceiling looks damaged?
Insulation can hold water inside the cavity and obstruct drying of adjacent framing. Its condition needs assessment when access is available. The scope should explain whether removal is required, what retained materials remain wet and how their condition will be checked before replacement insulation and ceiling finishes are installed.
How is the room below included in the inspection?
Drips or released cavity water may affect flooring, furnishings and wall edges beneath the opening. Those surfaces should be checked even when the ceiling is the most visible problem. Documenting that contact helps keep the cleanup boundary complete and identifies any additional material drying or removal needs.
What prevents a cosmetic repair from hiding unfinished work?
A documented handoff should connect source repair, material removal and the drying assessment. Review the condition of retained layers and the openings left for reconstruction before patching. The finish contractor then has a clear account of what was addressed and which replacement tasks remain inside the overhead assembly.
Arrange a ceiling cavity check
Keep the room beneath weakened material clear while source repair and interior access are planned.
(888) 629-3140Review the ceiling repair scope